In this era of low-carbon living, we are paying more and more attention to environmental protection and sustainability. This trend has gradually extended to the field of home decoration, and people have begun to choose more environmentally friendly furniture options to create a sustainable home space. And sintered stone furniture is an ideal choice in this era.
Sintered stone is a material made of natural minerals and high-temperature firing. Its characteristics are hardness, wear resistance, temperature resistance, chemical corrosion resistance, etc. It is very similar to the appearance and texture of natural stone, but it is more environmentally friendly and sustainable. Let's take a detailed look at the advantages of sintered stone:

1. Strong, durable and environmentally sustainable: sintered stone furniture uses natural minerals as raw materials, and no harmful substances or chemical additives are used in the manufacturing process. Compared with wood furniture, the production of sintered stone furniture puts less pressure on forest resources, fundamentally reducing damage to the environment. In addition, because sintered stone has extremely high hardness and wear resistance, it can be used for a longer time. It is not easily affected by scratches, heat or chemicals, and can withstand the wear and tear of daily use, reducing the frequency of furniture replacement and waste of resources.
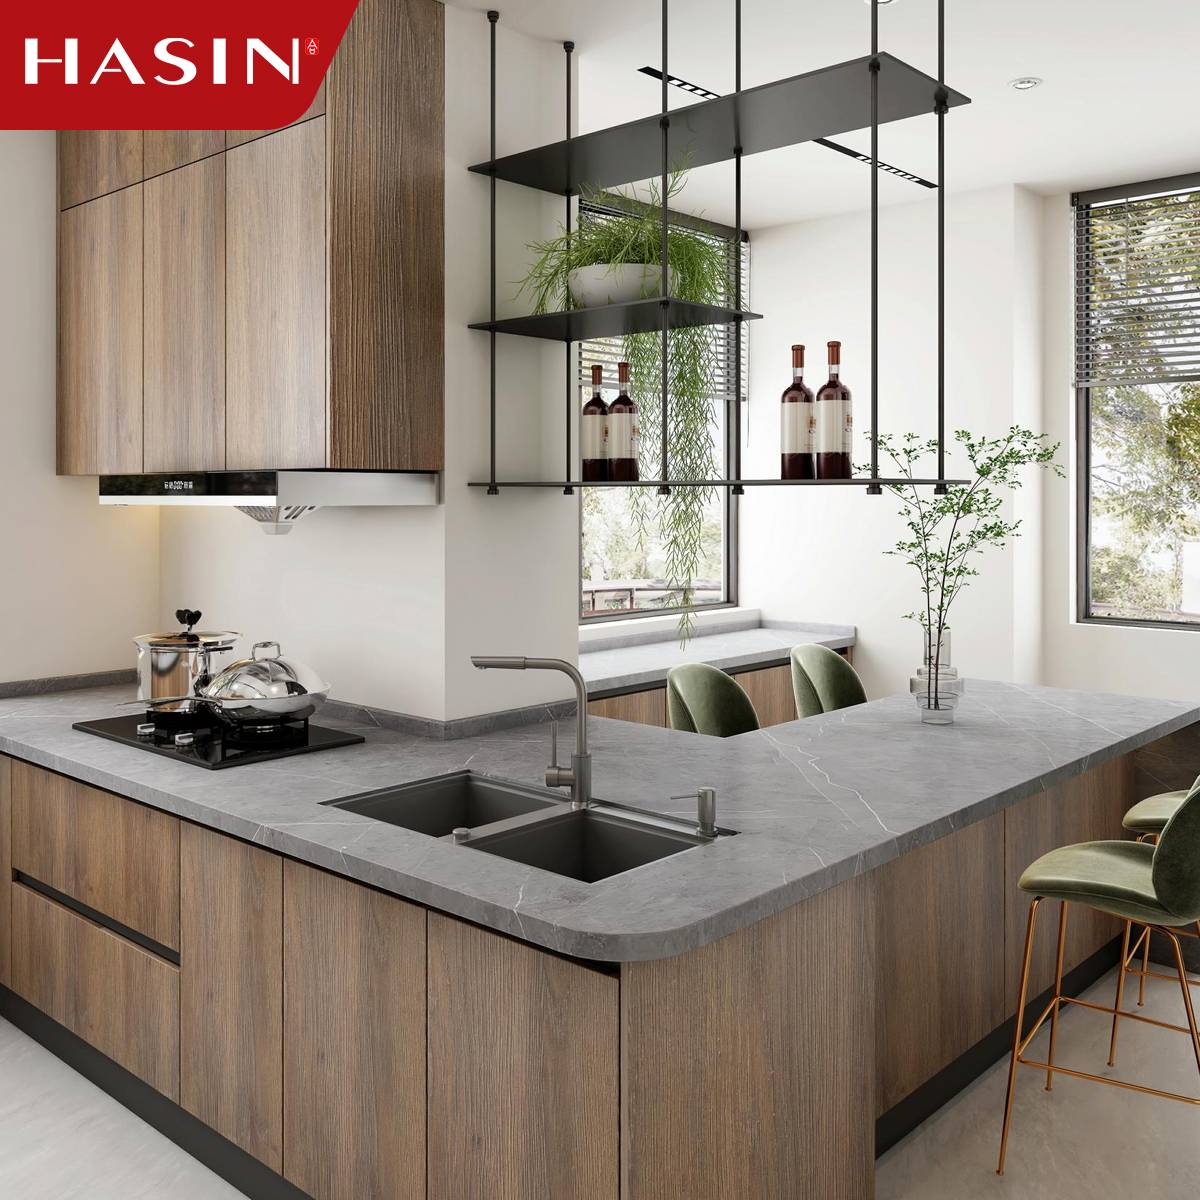
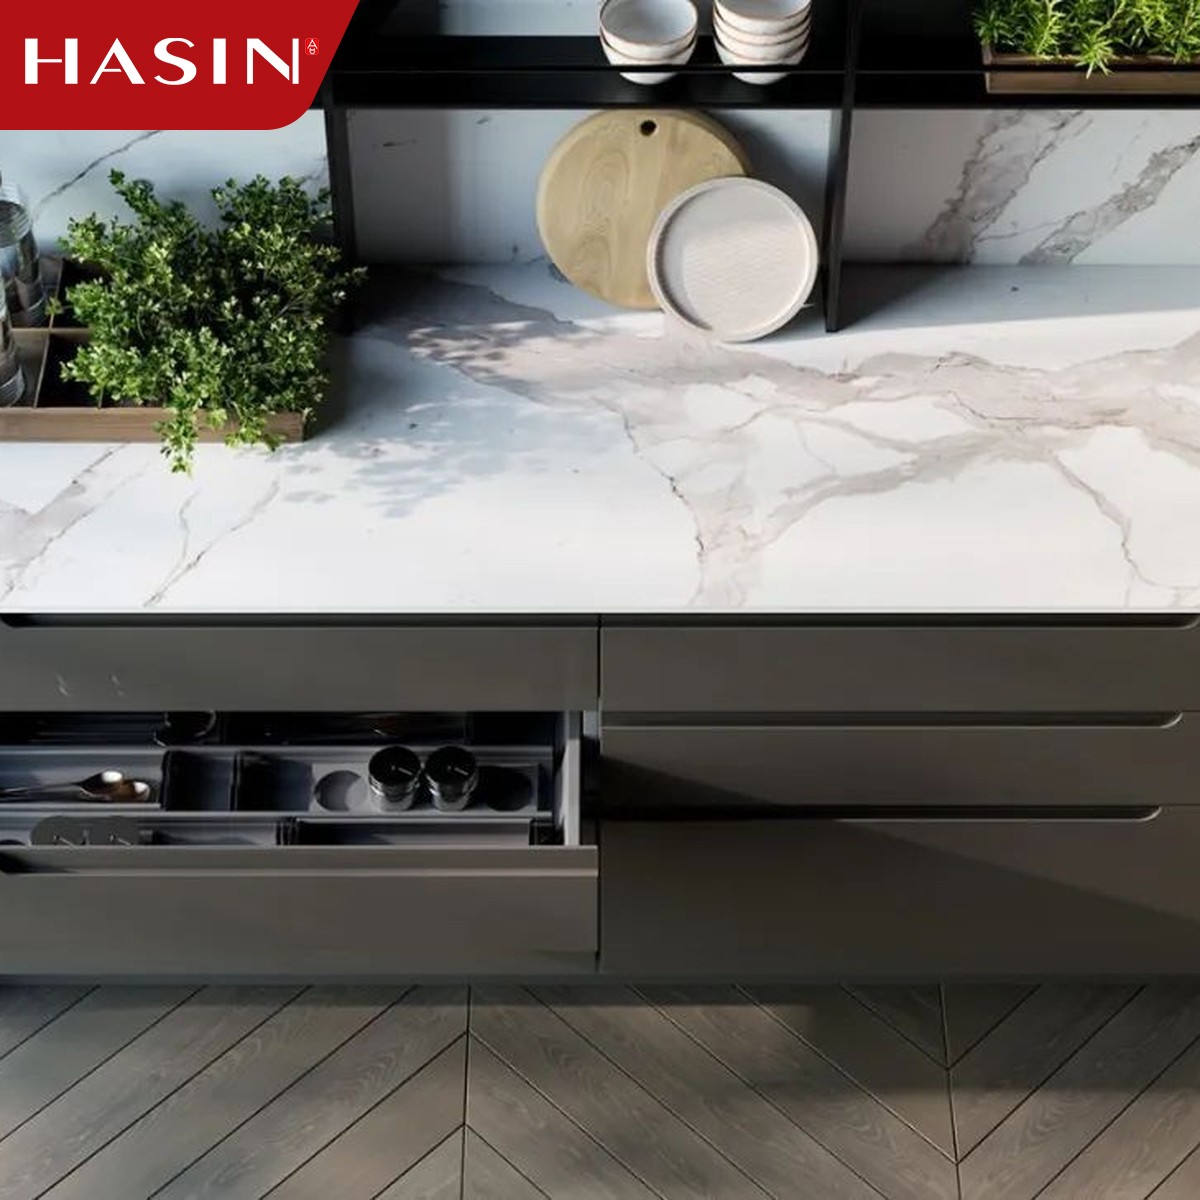
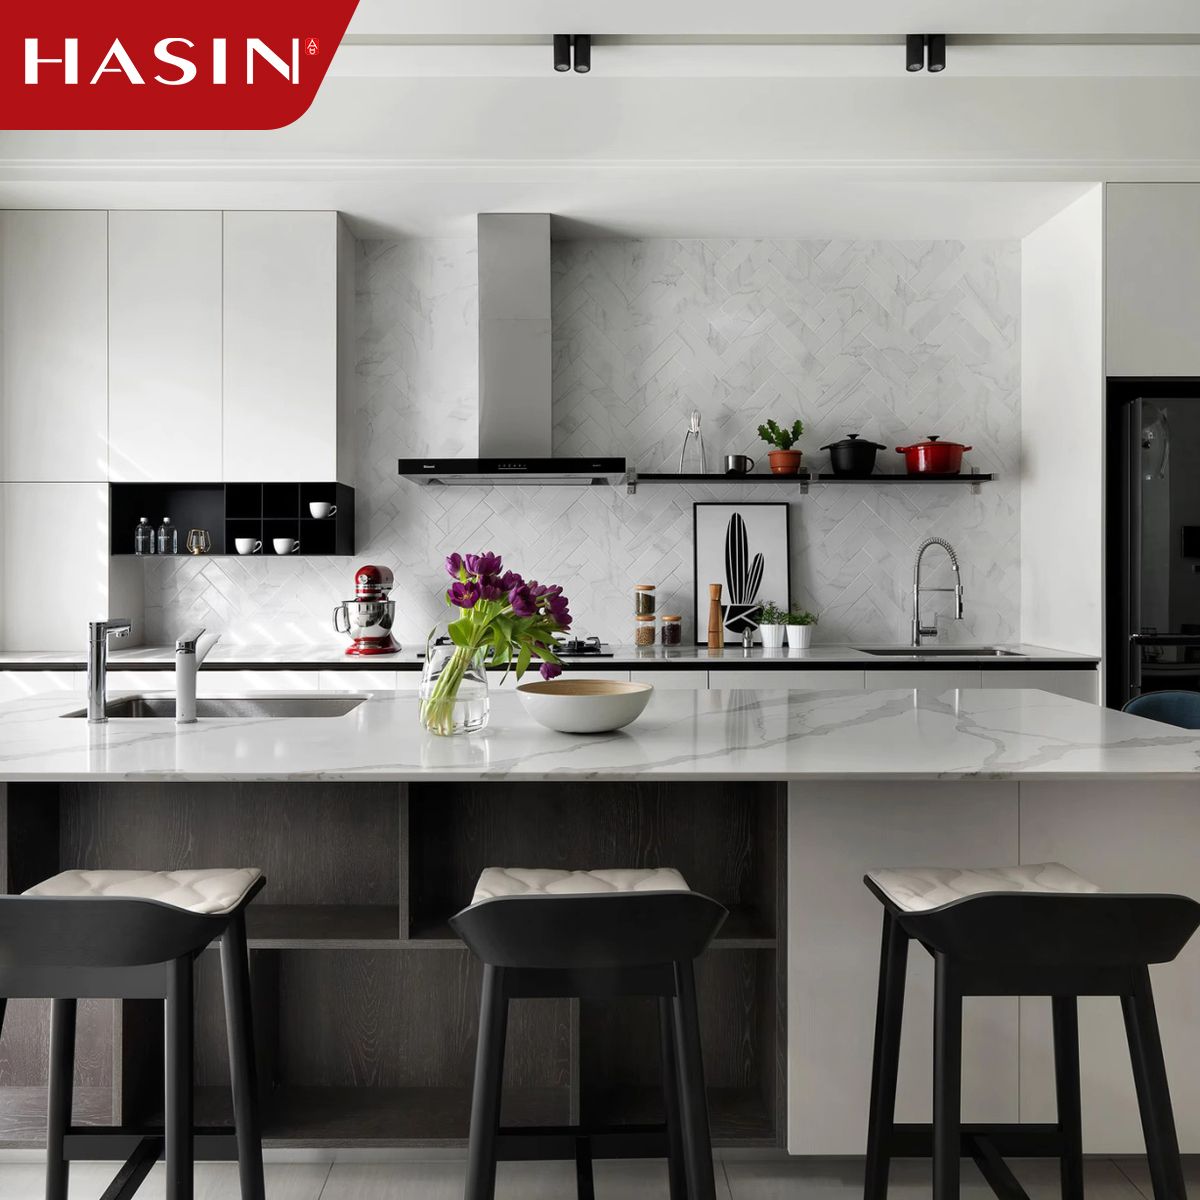
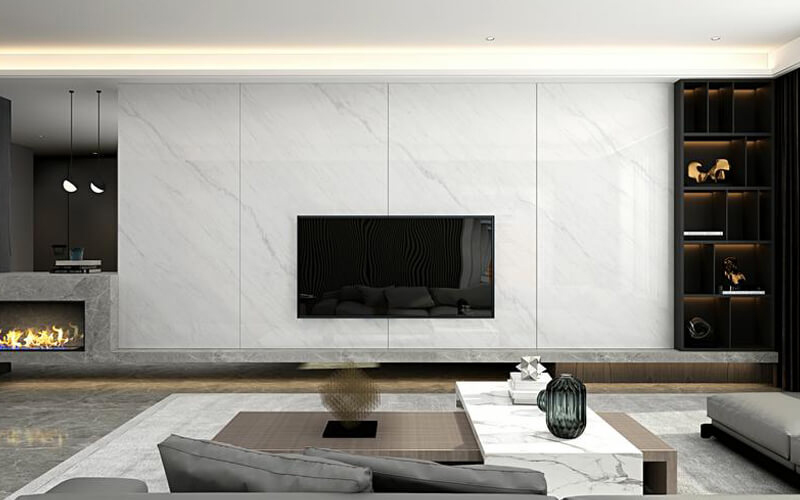
2. Versatility: Sintered stone furniture can be applied to a variety of spaces, including kitchens, bathrooms, living rooms, and offices. It can be made into a variety of furniture forms, such as countertops, bar counters, wash basins, etc. Its diversity and flexibility make it an ideal choice to adapt to different needs and styles.

3. Easy to clean and maintain: Compared with other common furniture materials, sintered stone is very easy to clean and maintain. Its surface is smooth and not easy to absorb dirt. It can be restored to a bright and new appearance by wiping it with warm water and neutral detergent. This not only saves time and energy, but also keeps the furniture beautiful and hygienic.

In summary, sintered stone furniture is an ideal choice with environmentally sustainable characteristics. Its durability, versatility, and easy maintenance make sintered stone the first choice for creating sustainable home spaces. When designing and decorating homes, we should actively consider sintered stone furniture as an alternative to make a positive contribution to our environment and future.


